







Three summer ago I stepped out my back door with coffee and noticed a thin, snaking line across the patio. It hadn’t been there the week before, or if it had, I would never looked down long enough to see it. I did what most people do: shrugged and told myself I would deal with it “later.”
Later turned out to be the following spring. The crack was three times as long, the edges had chipped, and a weed was growing out of it like it had paid rent. That little line cost me a lot more time and money than it needed to.
I’ve repaired cracks in patios, garage floors, a driveway, and some basement slabs since then, and I’ve made nearly every mistake there is. This guide covers what I wish I’d known at the start.
Why Concrete Cracks in the First Place
Here is the thing nobody tells you concrete is supposed to crack a little. That sound like cop out but it is true. Concrete shrink as it cures and loses water it can not stretch much to accommodate that. Eventually it find relief in the form of a crack.
Beyond curing shrinkage usual cause are
- Temperature Fluctuation.Concrete expand in heat and contract in cold. Over year that add up.
- Freeze thaw cycles. Water seeps in freeze, expand and pries thing apart from inside.
- Poor soil prep. If the ground beneath slab was not compacted well it settle unevenly and the slab goes with it.
- Heavy loads. A slab designed for foot traffic won’t love a delivery truck parked on it.
- Tree roots and water erosion. Slow sneaky and surprisingly powerful.
Understanding the cause matter because repairing crack without fixing what caused it is like mopping floor while the pipe still leaking.
Tip 1: Diagnose the Crack Before You Touch It
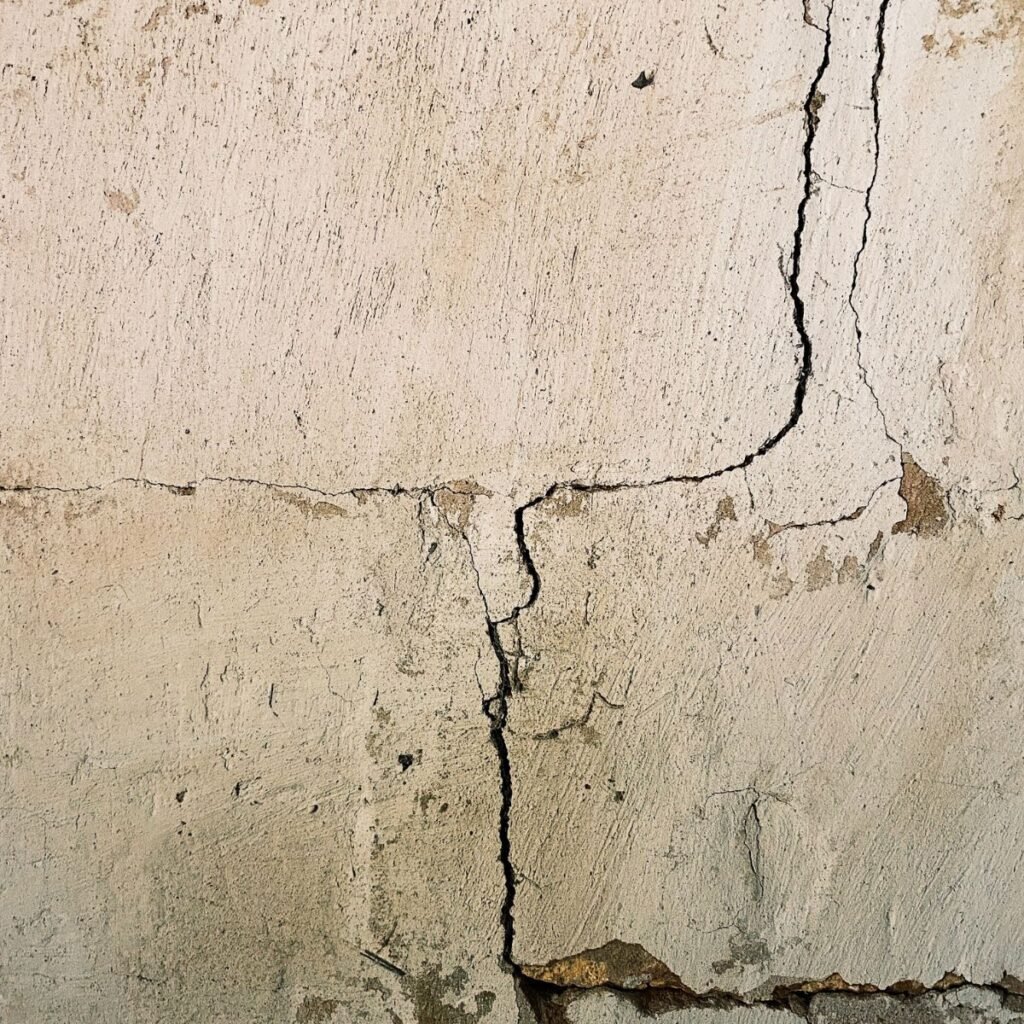
This is the step I skipped on my first patio, and it’s the most important one.Different crack need different fixes so spend ten minute looking before you buy anything.
Know the Three Rough Categories
Hairline crack are thinner than about 1/16 of an inch. They are usually cosmetic and caused by normal shrinkage. Annoying rarely dangerous.
Medium crack run from roughly 1/16,1/4 inches wide. These deserve proper repair because water can get in and cause bigger problems.
Wide or structural cracks are wider than about 1/4 inch, or cracks where one side sits higher than the other. These are warning sign,and they often point to settlement or a structural issue.
Check Whether It’s Moving
A simple trick mark each end of crack with a pencil and note the date. Check back in few week. If the crack has grown, it is active and a rigid patch will just crack again.
I once patched a garage floor crack with a hard cement based filler and watched it split open again within a season. That crack was still moving. A flexible material would have saved me the second attempt.
Also look at the pattern.A single straight crack is usually less alarming than a spiderweb of cracks or one running diagonally from the corner of door or window. If you see vertical offsets or crack in foundation walls that keep widening, skip the DIY plan and read the “When to Call a Professional” section below.
Tip 2: Prep the Surface Properly
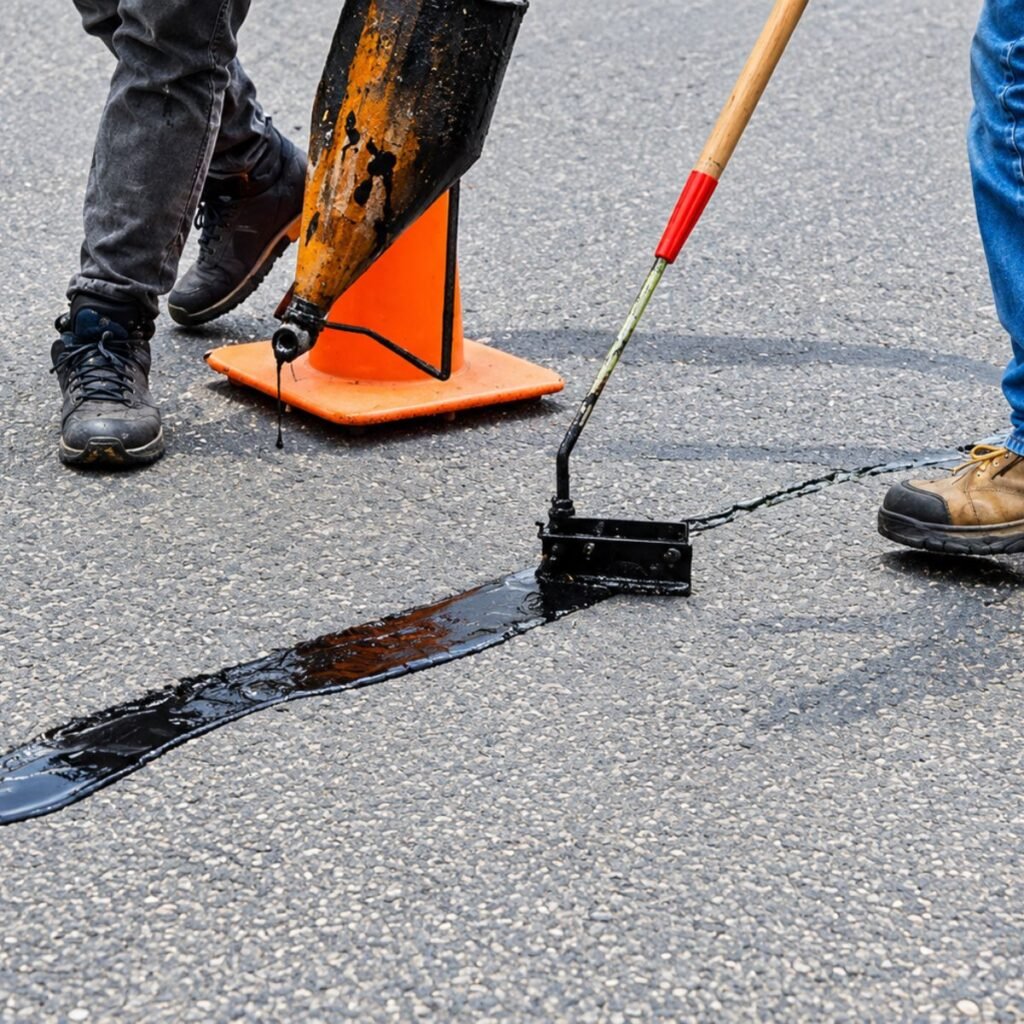
- If I could tattoo one sentence on every DIYer’s forearm, it would be “Repairs fail because of prep, not product.” I’ve watched expensive epoxy peel out of a crack because someone didn’t clean it first.
Step by Step Prep
- Use wire brush a stiff scraper to dig out crumbled concrete dirt and old failed filler.
- Widen very thin cracks slightly if the product call for it. Many filler need little room to grip.Chisel an angle grinder with a diamond blade can open up the cracks so the repair material has something to bond to. Wear eye protection dust mask because concrete dust is not a joke.
- Vacuum blow out the dust. A shop vac works well. Dust left in crack act like layer of flour between the filler and the concrete.
- Check the moisture requirements. Some product want a dry crack, other tolerate or even prefer slightly damp surface. Read the label. It sounds obvious but this is where many repairs go wrong.
Don’t Skip the Backer Rod on Deeper Gaps
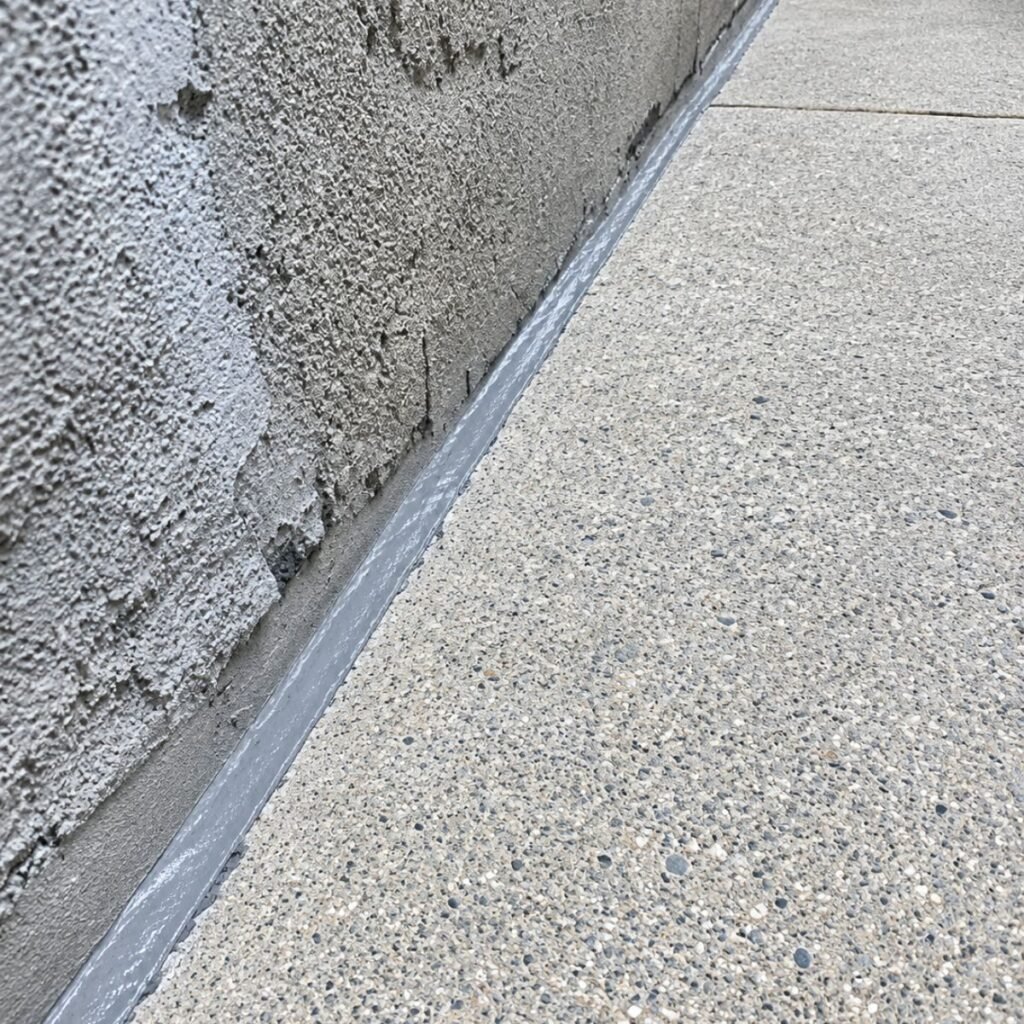
For wider crack or joint foam backer rod pushed into the gap keep sealant from sinking too deep. It also helps the sealant flex properly instead of bonding on three sides. I resisted using backer rod for years because it seemed like an extra step. Then I tried it and the results looked noticeably better and lasted longer.
Good prep is boring, and it’s about 70 percent of the job. Do it right and the rest is easy.
Tip 3: Match the Repair Material to the Crack
Walk into any hardware store and crack repair aisle will make your head spin. Here is how I sort it out in my own mind.
Hairline and Small Cracks
For narrow, non moving crack a liquid concrete crack sealer or a pourable filler usually does the job. They flow into crack and seal it against water. Easy and cheap.
Medium Cracks
A polyurethane or elastomeric sealant is a good choice here, especially for cracks that expand and contract with the seasons. These stay flexible, which is exactly what a moving crack needs. For patios and driveways, I lean on these more than anything else.
Structural Cracks
For cracks that affect strength, the traditional repair is epoxy injection. Epoxy bonds the two sides back together, restoring a lot of the original strength. This is more technical, and I would treat it as job for a qualified contractor unless you are experienced.
Wide Surface Cracks and Patches
For wider shallow damage, a polymer modified cement patch or repair mortar works. It is thicker and sandable, and it handle chipped edges well.
A quick comparison:
- Flexible sealants: best for crack that move with temperature changes.
- Epoxy: best for structural bonding and non moving cracks.
- Cement-based patches: best for wide, shallow damage that isn’t moving.
One more thing: always check whether the product is rated for your situation (horizontal or vertical surface, indoor or outdoor, foot traffic or vehicles). A product that’s perfect for a basement wall may be wrong for a sun-baked driveway.
Tip 4: Mind the Weather and Curing Time
This one surprised me. I assumed a repair was a repair, rain or shine. Nope.
Most crack repair product have a working temperature range and many don’t like to be applied in cold weather. A lot of them want temperature somewhere above roughly 40°F (about 4°C), though it varies so check your product’s label. Extreme heat causes different trouble, since sealants can skin over or cure too fast under harsh direct sun.
My rule of thumb is to pick a mild, dry day, ideally with no rain in the forecast for at least 24 hours. If the repair area sits in full afternoon sun, I’ll work in the morning or shade it.
Respect the Cure Time
Patience is the sneaky skill in this hobby. Foot traffic, car tires, and water exposure all need to wait until the product has properly cured. I once let my kid roll a scooter over a patch “just to test it” after a few hours. Let’s say the patch lost that argument.
Cure time range from couple of hour to a few days depending on product or condition. Follow the label then add little extra buffer if the weather is cool or humid. Waiting a day is free. Redoing repair is not.
Tip 5: Prevent the Next Crack
Fixing a crack is satisfying. Not having to fix it again is better. A few habit make a real difference.
Manage Water
Water is concrete’s long term enemy. Make sure the ground around your slab slopes away from it keep gutter and downspout directing water well clear and do not let sprinkler soak the edges of your driveway day after day.
Seal the Concrete
A quality concrete sealer help keep water and de-icing chemical from soaking in. Depending on product and traffic your concrete sees resealing every few year is common routine.
Be Careful With De-Icing Product
In cold region some de-icing salts can speed up surface damage on concrete especially on newer slab.Sand or a concrete safe alternative can be gentler.
Keep Up With Small Fixe
Inspect your concrete once or twice year ideally in spring and fall. Catching Tiny crack early and sealing it take minute.Ignoring it for year is how a ten dollar tube turn into expensive repair job.
Plan for Control Joints
If you are pouring new concrete, control joint (those straight grooves cut into slab) give the concrete planned place to crack. It is cracking on your term. Whoever poured your slab hopefully put them in; if not it may explain a lot.
Common Mistake to Avoid
I’ve made most of these, so no judgment here.
- Skipping cleaning step. Dirt and dust ruin the bond.
- Using a rigid filler on a moving crack. It will crack again, often in the same spot.
- Overfilling and leaving a lump. Fill flush, smooth it out, and tool it while the product is workable.
- Ignoring the cause. If water or settlement is the culprit, fix that too.
- Working in bad weather. Rain, frost or blazing heat can ruin perfectly good product.
- Rushing the cure. Hands off until it’s ready.
- Assuming every crack is cosmetic. Some aren’t. More on that next.
When to Call Professional
DIY is great for the majority of everyday cracks in patios walkways, driveways and garage floors. But I would call in a qualified contractor or structural professional if you notice any of these:
- Crack wider than about 1/4 inch that keep growing
- One side of the crack sitting higher than the other
- Cracks in foundation walls, especially horizontal ones or ones that let water in
- Doors or windows that suddenly stick or won’t close right
- Cracks appearing alongside sloping floor
Those can signal foundation movement or drainage problem and a pro can evaluate the cause. Paying for an inspection is cheap compared with the cost of guessing wrong on something structural.
Final Thoughts
That sad little crack on my patio taught me more than I expected. Concrete cracks, and that’s normal. What matters is looking closely, prepping well, picking the right material, working in decent weather, and doing a bit of upkeep afterward.
You don’t need fancy tools or expert training for most repairs. You need patience and about an afternoon. Go look at your concrete this weekend. If you spot a hairline crack, deal with it now while it’s easy. Future you will be grateful, and your patio will look a whole lot better with your coffee on it.
FAQs
1. Are all concrete cracks serious?
No. Most of them are just concrete being concrete. Thin hairline crack from shrinkage or temperature changes show up on almost every slab sooner or later and they are usually only cosmetic. The ones that should make you pause are wide crack crack that keep growing any crack where one side sits higher than the other. That is usually sign of settling or drainage trouble.
2. Can I repair concrete cracks myself?
For small and medium cracks on a patio, driveway or garage floor absolutely. I have done it on a regular weekend with basic tools. Just take your time with the prep and pick the right product. But if the crack is structural is in a foundation wall, or keep coming back after you fix it, that is the point to call a pro.
3. How long does a concrete crack repair last?
It really depends. A repair that’s been cleaned properly and done with right material can hold up for years. But if the real culprit is something like water pooling under the slab the ground slowly shifting, even a perfect looking patch will give up early. Fix the cause too not just the crack.
4. Should I use a flexible or rigid filler?
Think about whether the crack moves. Outdoor most cracks open and close a little with the season so a flexible sealant usually work best. Epoxy is great when the crack is stable and you want to bond the two sides back together. Honestly, picking right type for your crack matter way more than the brand name on the tube.
5. Can I repair concrete cracks in cold or wet weather?
I’d skip it if you can. Most products have a minimum temperature, and they need a dry surface to grip and cure properly. I’ve rushed a repair before because I was impatient, and it failed. Wait for a mild dry few days and check the label. Waiting cost nothing and redoing the job costs time and money.