








Introduction,
A few years ago I helped my cousin look at a house he was desperate to buy. It had a big porch, a maple tree out front, and a kitchen he’d already decorated in his head.
I was the annoying one crouching by the back wall with a flashlight.
“What are you looking for” he asked. At that point I was not sure I had good answer. I knew foundation mattered but I had no system. I poked around randomly found nothing dramatic and we moved on. Eight months later he was dealing with a wet crawl space and a floor that felt like a trampoline in the hallway.
That experience pushed me to learn how a foundation inspection should really go, step by step. Since then I have followed inspector, read a lot, asked a lot of questions and walked through plenty of houses with proper checklist. This article is that checklist, boiled down into five steps anyone can follow.
Why Having a Process Matters
Most people inspect a foundation the way my cousin and I did: randomly. We looked where we happened to be standing and stopped when nothing jumped out.
The trouble is that foundation problems are patient. They do not jump out. They hide behind paint carpet, furniture and landscaping, and they show up as small clues spread around the house. A crack in one spot mean little. A crack plus sticking door plus soil pulling away outside tells a story.
A step by step approach make sure you collect all those clues in same order every time. It also protect you from the two classic mistake: panicking over harmless thing and missing the quiet sign that matter.
Based on my experience even a simple five step routine beats a “quick look” by a mile. Let’s walk through it.
Step 1: Gather the History of the Property

This is the step nearly everyone skips, and it’s one of the most useful. Before you look at a single crack, find out what the house has already been through.
If you are buying, ask the seller directly and ask for paperwork. If you already own the home dig through your record. Here is what look for
- Past repair record.any foundation drainage or waterproofing work with date contractor name.
- Earlier inspection report. These give you baseline to compare against.
- Insurance claim history. Water damage claim can hint at long running moisture problems.
- Renovation history. Addition and remodel can change how weight is distributed.
- Local condition. Soil type flood history and nearby construction can all affect foundation.
Why does this matter? Because context change how you read what you see. A hairline crack in house with recorded, completed repair and stable history is very different from same crack in a house nobody will talk about.
One small tip: if seller gets unusually unclear or defensive when you ask about foundation history, pay attention. It is not proof of anything but information.
Step 2:Inspect the Exterior and Ground Around It.
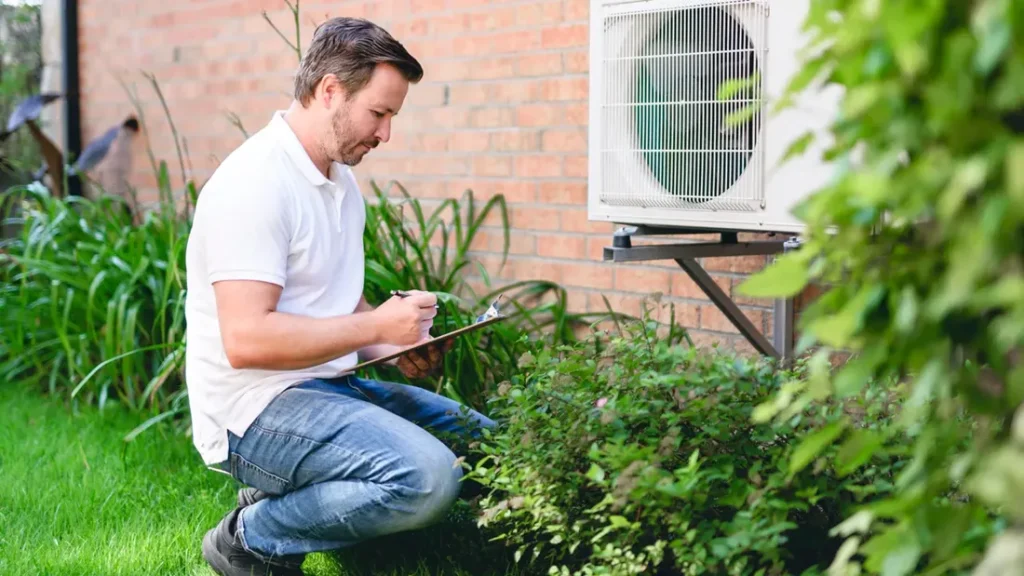
Now go outside. I like starting here because the exterior often explains what’s happening inside. Water is the main character in most foundation stories, so you’re basically a detective hunting for where it goes.
Look at the Grading
The ground right next to your house should slope gently away from wall. If it slope toward house if there is dip that hold water after rain that moisture is Moving exactly where you do not want it.
Check Gutter and Downspout.

Clogged gutter overflow and downspout empty right next to Base can soak the soil in one spot. downspouts should Direct water several feet away. It’s one of the cheapest Solutions in all of home maintenance and it make surprising difference.
Scan the Walls
Walk full perimeter slowly. Look for:
- Cracks in brick stone stucco or concrete foundation wall
- Stair step cracks following mortar lines
- Gaps between foundation and the siding
- Bulging, leaning or bowing section
- Chimneys or porches pulling away from house
Notice the Plants
Big trees close to the house can pull moisture from the soil and in some condition, cause uneven drying. Shrub packed against the wall can trap dampness. None of this is a deal breaker but I always note it.
I usually take photos of each side of house during this step.It sound like overkill but those picture become incredibly handy when you want to compare thing month later.
Step 3:Check the Interior for Movement

Step inside shift your focus.You are no longer hunting water. you are hunting for movement. Foundation that settle or shift pass that movement everything attached to them.
Here is my usual inside routine:
- Open and close every door window. Do any stick, rub or refuse to latch? Look at the gaps around the frame too. Uneven gaps wide on one side, tight on the other are a classic clue.
- Look at the corner. Crack that begin at corner of door window frame and run diagonally upward deserve attention.
- Check the floor. A marble small round object set on floor will happily show you which way it lean.
- Examine wall and ceiling.Look for crack separation between wall ceiling and nail pop drywall.
- Look at tile and trim. Cracked tile gap behind baseboard and separating trim can all point to subtle movement.
I once spent about twenty minutes in house with a friend testing every door. Exactly three of them stuck and all three were on the same side of the home. That pattern pointed straight at one corner of the foundation and sure enough, that’s where the crawl space showed trouble.
Patterns are everything. One sticky door could be humidity. Three sticky doors in a line is a clue.
Step 4:Examine Foundation Itself Slab Crawl Space Basement
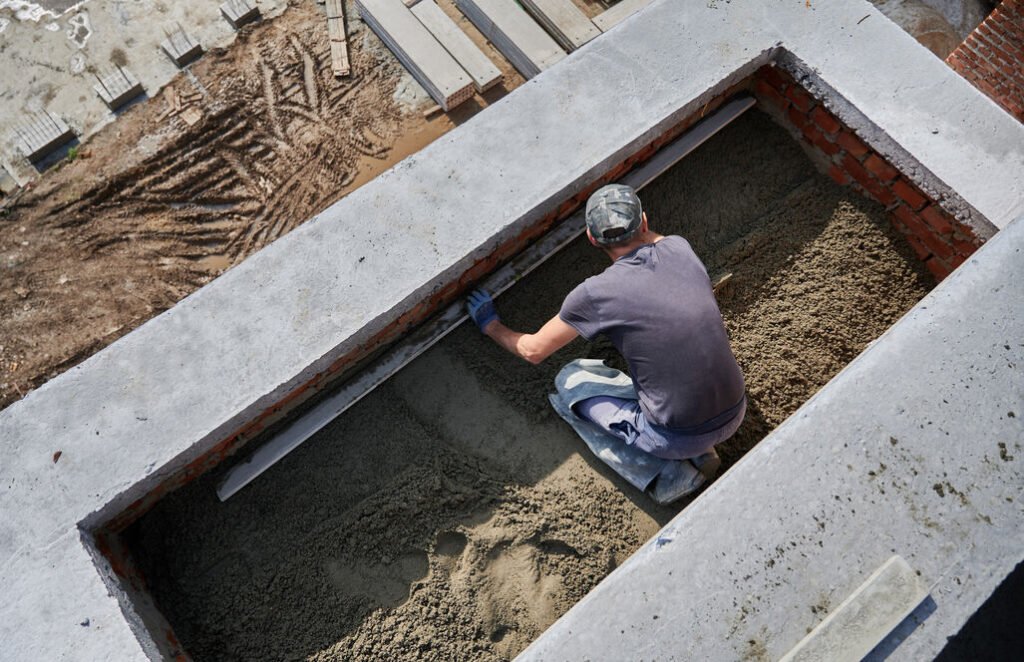
This is the heart of whole inspection, so do not rush it. What you do here depends on what kind of foundation house has.
If You Have a Basement
Bring bright flashlight and check every wall.
- Look for horizontal cracks which can signal pressure from soil pushing inward. These tend to be more serious than thin vertical ones.
- Watch for bowing leaning wall.
- powdery deposit efflorescence sign water moving through concrete.
- Smell air. Persistent musty odor suggest ongoing moisture.
- Check floor crack heaving dampness.
If You Have Crawl Space
Be careful here and wear protective gear if you go in yourself. Look at:
- The condition of beam joists, and wooden supports dark, soft or crumbling wood is a red flag
- Pier or post that look tilted cracked or sunken
- Standing water, damp soil, or moisture stained insulation
- Sign of pest which often move in wherever moisture is present
If the space feel unsafe tight or full of unknown it is perfectly sensible to let a professional handle it. No house is worth trip to the emergency room.
If You Have Slab Foundation
You can not see most of which make clues above ground even more important. Look at visible edge slab outside check for crack across floor inside especially wide uneven one where one side sit higher than other. Watch for damp spot on flooring since leak beneath slab can wash out soil.
A Quick Note About Crack
Not every crack is an emergency, and I would hate for you to lose sleep over a harmless one. Thin vertical hairline cracks are common as concrete cures. What I’d worry about is a crack that is wide horizontal stair stepped or growing. A simple trick is to mark end with pencil and write the date. If it grow past mark you have your answer.
Step 5: Document Everything and Decide What Come Next

The final step is one that turn walk around into an actual inspection. Write it down.
Build Simple Record
For every issue you find capture:
- A photo with something like a coin or ruler for scale
- The location (for example, “northeast bedroom, above window”)
- The date
- A short description of what you see
Keep it all in one folder, digital or paper. Over time it become a timeline and a timeline is far more useful than memory.
Sort What You Found
I put every finding into one of three bucket:
- Cosmetic or normal. Thin hairline minor paint crack small stains with no pattern.
- Watch closely. Crack or sticking door that might be changing. Mark them and recheck in a few months.
- Get it checked now. Horizontal wall cracks, bowing active water entry, noticeably sloping floor or multiple signs lining up in one area.
Decide on the Next Move
If most things land in the first bucket, great. Keep up the routine. If you’ve got “watch closely” items, set a reminder to check again. If something landed in the third bucket, call a qualified professional, ideally an independent structural engineer who doesn’t make money from selling repairs.
That last point is worth repeating. A repair company’s free estimate can be perfectly honest, but an independent report gives you a neutral view to compare. For a big decision, I think that second opinion is worth every penny.
Common Mistake to Avoid.
I have seen smart people trip on these so let is get them out in the open.
Treating every crack as disaster. Panic lead to rushed expensive decision. Learn difference between normal crack and worrying ones.
Ignoring every crack. The opposite mistake is just as costly. “It’s probably settling” is most dangerous phrase in home ownership.
Skipping the outside. Lots of people stay inside and never check grading gutters, or soil. That is where most of the causes live.
Patching without diagnosing. Filling crack make it look better, not behave better. If you do not find out why it formed, it will come back.
Forgetting to repeat. One inspection is a snapshot. Foundation change with seasons, rainfall and age. Repeat your routine at least once year.
Relying on single opinion. For any significant repair get more than one assessment before you commit.
When Call Professional
A DIY routine excellent for spotting trouble early but it has limit. You can not measure structural movement with flashlight and you can not see inside slab.
Call in qualified inspector or engineer if you notice:
- Cracks wider than quarter inch or crack that keep growing
- Horizontal crack or walls that bow inward
- Floors that slope noticeably or feel soft
- Water repeatedly entering basement or crawl space
- Doors and windows that suddenly jam in several rooms
- Anything that simply feel wrong to you.
When you hire someone ask about their credential whether they sell repair and whether they provide written report with photo. A good professional explain thing in plain language tell you when something is fine. If you are being rushed to sign something on spot slow down.
What’s Changing in Foundation Inspection
The tools are getting smarter. Digital level and laser scanners produce detailed map of how floor sit. Drones help inspect rooflines and tough exterior spot. Some companies even install small sensor that monitor movement over time so you can see whether crack truly active.
Weather matters too. Bigger swing between very dry and very wet season put extra stress on soil in many area which makes regular checks more important than they used to be.
Still from what I have seen, gadget are helper not replacement. A trained person who understands local soil and building habit catches things device alone will not.
Final Thoughts
My cousin’s house taught me something I will never forget a good inspection is not about being lucky being an expert. It about having routine and sticking to it.
Gather the history. Check outside. Test the inside. Look closely at foundation. Write it all down. Five step and you will know more about your home than most owners ever do.
Please do not wait for crack to scare you into action. Put note in your calendar grab flashlight on a quiet Saturday and give your house the attention it deserve. It is holding up your whole life, after all and a little curiosity now can save you a lot of stress later.
Frequently Asked Questions
1. How long does a foundation inspection take?
If you are doing it yourself and taking your time with photos and note plan on an hour or two. A professional will usually spend one to three hours on an average home. Bigger houses awkward crawl spaces, or several suspected problem can stretch that out and a longer visit is generally a good sign that inspector is being thorough.
2. Can I inspect my foundation myself?
Yes, and it is worth doing as a first pass. Walk the outside, check the inside, and look at any foundation you can see. You will catch plenty of early warning sign that way. What you can not do is measure movement accurately or work out the structural cause, so if you find anything serious get a qualified professional to confirm it.
3. What’s the most important step?
Most people would say looking at foundation itself but I would put checking exterior drainage right up there with it. Water is behind most foundation problem so spotting poor grading or badly placed downspouts can explain what you are seeing and help you head off future damage. Keeping record matter too since it let you track change over time.
4. Are small cracks normal?
Often yes. Thin vertical hairline crack commonly appear as concrete cures and house settles, and many never cause any trouble. What matter is type of crack and how it behave. Wide, horizontal, stair step, or growing crack should be looked at by a professional. A pencil line drawn at the end of a crack with the date next to it is an easy way to see whether it is getting longer.