





Introduction,
There was a crawl space which we left for a decade, there we left some wet cardboard always remind me there smell.i had forgotten it.
After words when I reached at rabbit’s hole of crawl space there found of many contractors video that’s was attractive to them. It is a very fantastic work of crawl space encapsulation that will be the source of saving your home from moisture damage.These are the some essential steps to to guide walk that adopted. Then I share with my one of friend who have also some crawl space once I had.
Step 1:Inspecting and Preparing the Crawl Space.
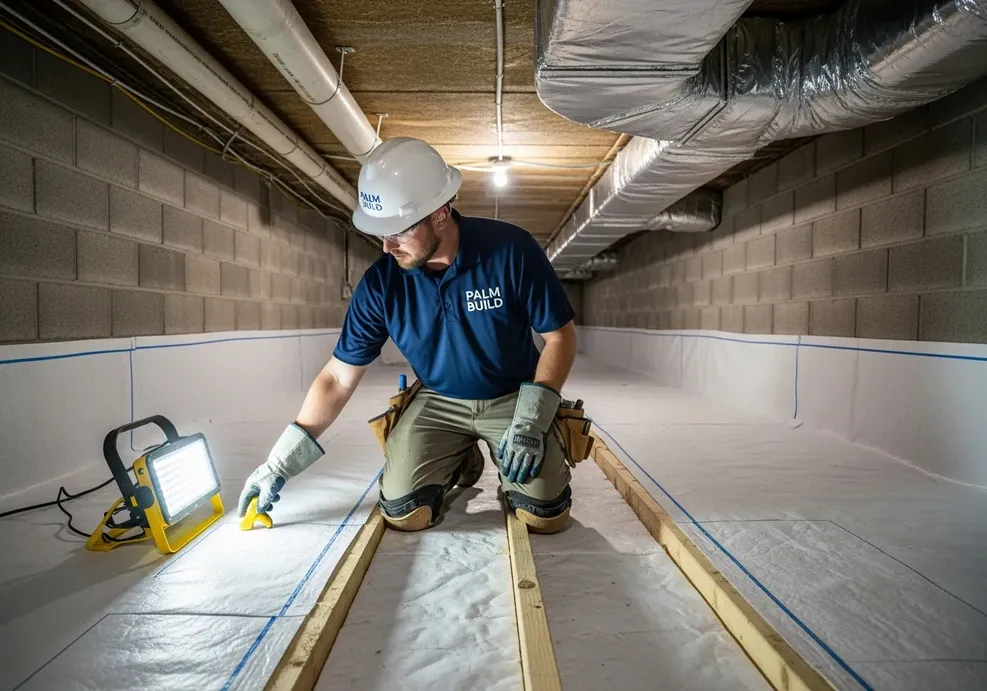
Before covering anything make sure you check what is actually down there. I know no one wants to crawl into a dirty space but this step is more important than we realize.
Check for standing water, wood rot, pest activity, and existing insulation that is falling apart. In my case, I found old fiberglass batts sagging down. like deflated balloons, plus a family of spiders that clearly felt very at home.
Based on my experience, this inspection phase should also include:
Checking the foundation walls for cracks.
Looking at support beams joists for signs of rot or termite damage.
Noting any exposed dirt floor (a major moisture source).
Identifying where pipes or ductwork run through the space.
If you find serious structural damage or active mold growth address that before moving forward. Encapsulating over a problem doesn’t fix it — it just hides it, and trust me, that comes back to bite you later.
Step 2: Sealing Vents and Addressing Moisture Sources.
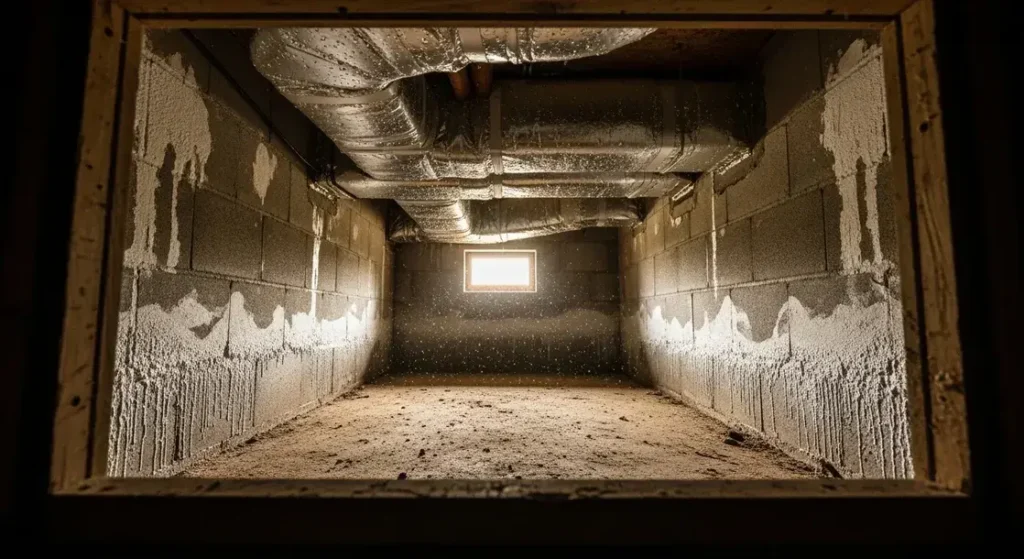
Old building rules said crawl space needed open vents to let air in and out. But today expert know that in humid areas these vents can sometimes let more moisture in than they let out.
Sealing the foundation vents is an important part of crawl space encapsulation. You can use foam vent cover or seal them with foam board and spray foam.
You should also fix any sources of moisture such as:
* Ground that slopes toward the house.
* Plumbing leaks in the crawl space.
* Gaps around pipes and other openings.
I made the mistake of ignoring the ground slope the first time. I thought the vapor barrier would be enough but it was not. After a heavy spring rain water still got inside and I had to redo part of the work.
I learned one simple lesson: **fix the water problem first.**
Step 3: Installing the Vapor Barrier.
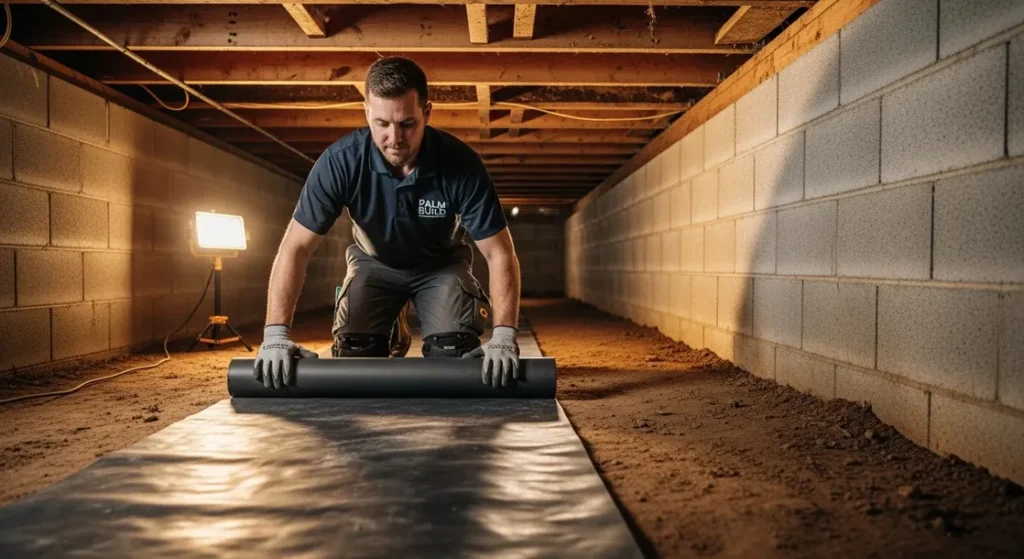
This is one of the main steps in crawl space encapsulation. A strong polyethylene vapor barrier is placed over the dirt floor and taken up the walls. Most barriers are about 10 to 20 mil thick.
The sheets should overlap at the seams. Usually by around 12 inches. Use special tape to seal the joint and keep moisture from getting through. The barrier should also be secured to foundation walls so it stay in place.
Here are a few simple tips.
1.Choose a thick and durable barrier.Thin 6 mil liners can tear easily.
2.If termites are common in your area use a termite-resistant barrier.
3.Seal around support posts and pipes carefully.
Once the barrier is installed the old dirt floor is covered and space looks much cleaner. My crawl space went from a dark scary place to a space. I could actually walk through without feeling uncomfortable.
Step 4: Insulating Walls and Sealing Gaps.
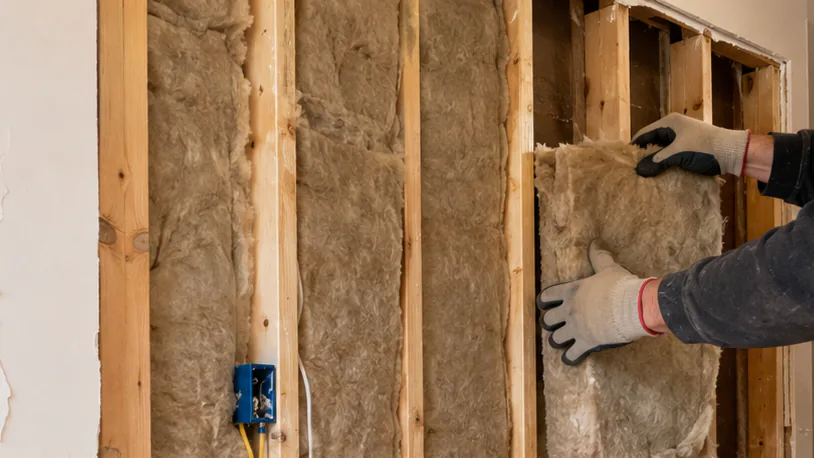
With the floor and vents handled, attention turns to the foundation walls. In an encapsulated crawl space, insulation typically moves from the floor joists above to the foundation walls themselves, since the space is now treated as part of the home’s conditioned envelope.
Rigid foam board insulation is the most common choice here. Attached directly to the foundation walls. Some contractors also use closed cell spray foam. Which double as both insulation and an air sealant.
You should not ignore even the small gaps because they can cause bigger problems later.
Rim joist areas.
Gaps around pipe and wire penetrations.
Cracks in the foundation itself.
Access door frames.
At first, I also thought insulation was only used to control the temperature. But later, I realized that it also helps seal the air. The interesting part is that it even made a noticeable difference in my electricity bill.
Step 5: Adding a Dehumidifier or Ventilation System.
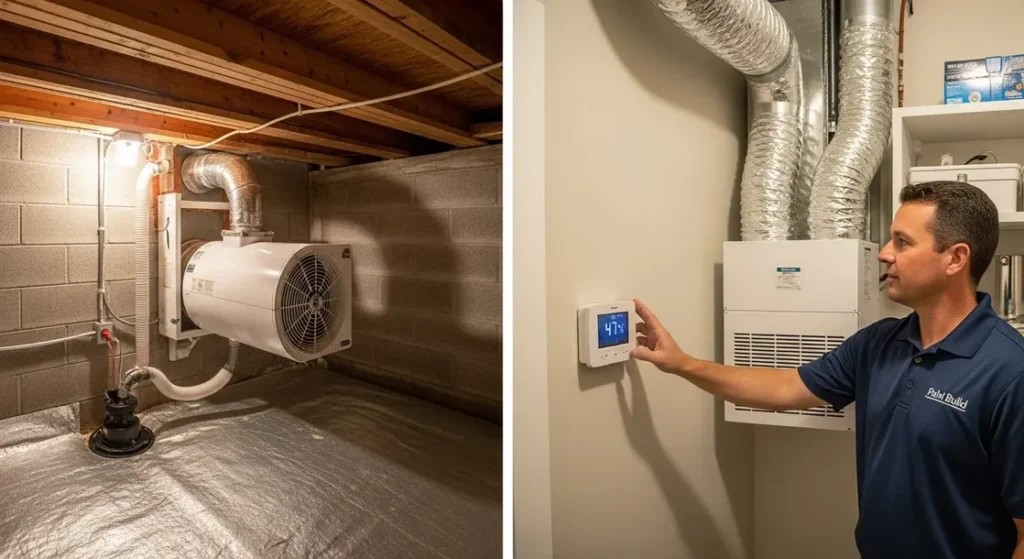
Sealing everything up traps moisture inside if you don’t manage humidity actively. This is where a dedicated crawl space dehumidifier comes in, and after testing this myself, I can say it’s not optional — it’s essential.
A properly sized dehumidifier keeps humidity levels around 50-55%, which discourages mold growth and wood rot. Some setups instead use conditioned air from the home’s HVAC system, ducted into the crawl space, though this depends on your climate and system capacity.
Look for a dehumidifier with:
An automatic humidistat control.
A drain line or condensate pump for smooth continuous operation.
Choose dehumidifier that fit the size of your crawl space. Rather than simply going for cheapest option.
Skipping this step can slowly undo all your hard work as moisture and condensation gradually build up over time. I learned this hard way. When I left out the dehumidifier to save money. Within just two months I noticed moisture and foggy spots forming on the vapor barrier.
Common Mistakes to Avoid.
While working on my crawl space project. I noticed several common mistake that can cause problems later. Avoiding these mistake can save you time money and extra work.
Skipping humidity control – Without a dehumidifier, moisture can build up and cause problems later
Using a thin barrier – Thin material can tear easily during future maintenance.
Ignoring outside drainage – Fix drainage issues around the house so water does not collect near the foundation.
Sealing over mold – Remove and treat existing mold before sealing the crawl space.
If you are doing the work yourself, wear proper protective gear, especially a respirator.
Benefits and Drawbacks Worth Knowing
Encapsulation is not magic and it is fair to weigh both sides before committing.
Benefits I noticed:
Lower humidity throughout the main floor of the house.
Reduced musty odors.
Better energy efficiency my HVAC seemed to run less.
Fewer pest issues since the space less inviting.
Drawbacks worth considering:
Upfront cost can be significant. Especially with professional installation.
Requires occasional maintenance checking the dehumidifier, inspecting the barrier.
DIY attempts can go wrong without proper technique.
I would say it is a worthwhile investment for most homes with persistent moisture issues, but it is not a one-size-fits-all fix, and budget does play a real role in how thorough you can be.
Final Thoughts.
Crawl space encapsulation sound intimidating. Until you break it into these five steps: inspect seal the vents and moisture sources, lay the vapor barrier insulate the walls, and manage humidity long term. I went through the process myself. I realized it is less about complicated technique and more about being thorough and not skipping steps to save a weekend.
If your home has that same musty odor. I used to deal with, do not brush it off. It is often a problem you can fix and your future self—and your floors—will be glad you took care of it.
FAQs
1.Can I just DIY the whole encapsulation myself?
You can and some people do it well. But I will be straight with you — it is a lot more tedious than it looks online. Sealing every seam properly and getting the vapor barrier laid down right takes patience. If you are first-timer, I would honestly leave the humidity control system to a pro. That part’s easy to get wrong.
2.How long does this stuff actually hold up?
If it is installed properly with decent materials, you are looking at 15-20 years, sometimes longer. The catch is you can not just forget about it once it is done — checking the dehumidifier and peeking at the seams once in a while goes long way toward not having to redo everything early.
3.Does encapsulating get rid of mold for good?
Not automatically, no. What it does is take away the moisture and humidity mold needs to grow in the first place. Which helps a ton going forward. But if there is already mold down there, sealing it up does not make it disappear — you have got to deal with that first otherwise you are just trapping a problem.
4.If I seal it up, do I still need a dehumidifier?
In pretty much every climate I’ve come across, yeah. Sealing the space traps whatever moisture is already in there, and without something actively pulling humidity out, you’ll end up with condensation building back up anyway. Think of the dehumidifier as part of the whole system, not some extra you can skip to save money.