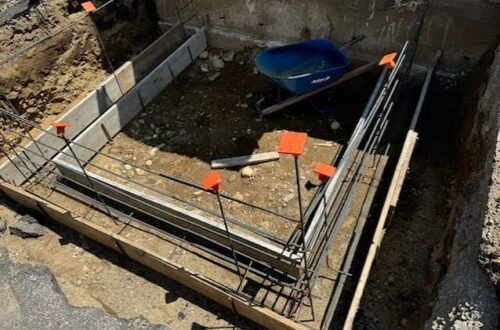








Introduction,
The first time I helped a friend finish a basement we were about three weeks in when he pulled back a corner of brand new carpet and found a damp, dark patch on the concrete. Walls were framed. Drywall was hung. Paint was picked out. That patch had been there all along, and we would covered it up like a bad haircut under a hat.
We tore a lot of it out. It cost him time, money and a good deal of pride.
I have thought about that moment every time someone ask me about basement finishing because it taught me the one important lesson most guide overlook: a basement is not just another room. It is a room that live underground, with its own rule about water, air, and temperature. Respect those rules and you get a comfortable living space. Ignore them and you get an expensive lesson.
Here are the five tip I would share with anyone starting this project, plus the mistake I see most often and a few trend worth knowing about.
Why Basement Are Different From Every Other Room.
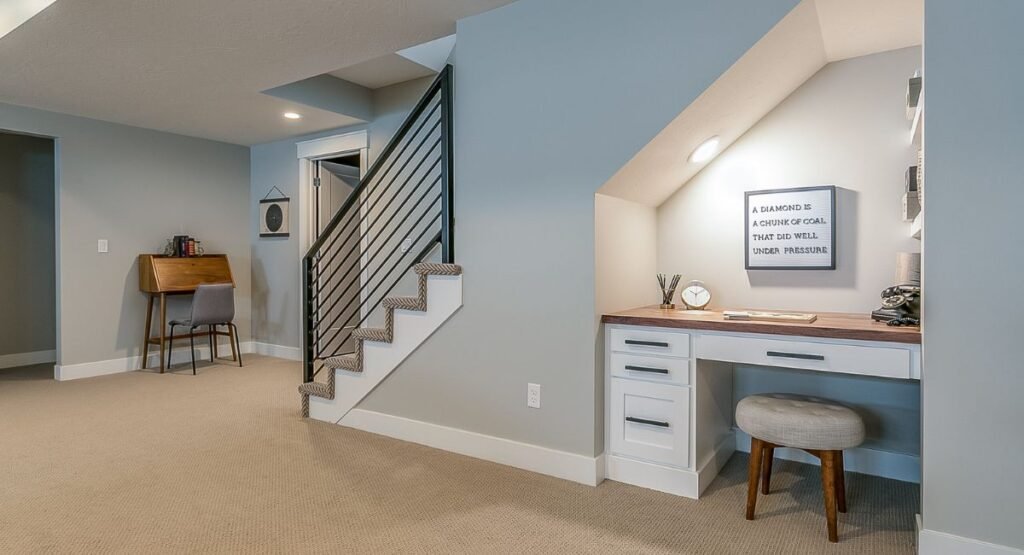
Think about what surrounds a basement. Concrete walls and a slab floor sit in directly against with soil, and soil naturally holds moisture. That moisture can seep through concrete slowly even when nothing look wet.
Basement also tend to be cooler, receive less natural light and often carry your home’s plumbing, furnace, water heater and electrical panel. So you are not simply decorating. You are building a comfortable room around the systems that keep your house running.
That is the challenge. A finished basement can become family room, guest suite, home office, gym or play space often without adding a single square foot to your home’s footprint. Done right, it is one of the most useful upgrade a house can get.
Done wrong, it become a musty storage zone with nice paint.
Tip 1: Solve Moisture Before Anything Else.
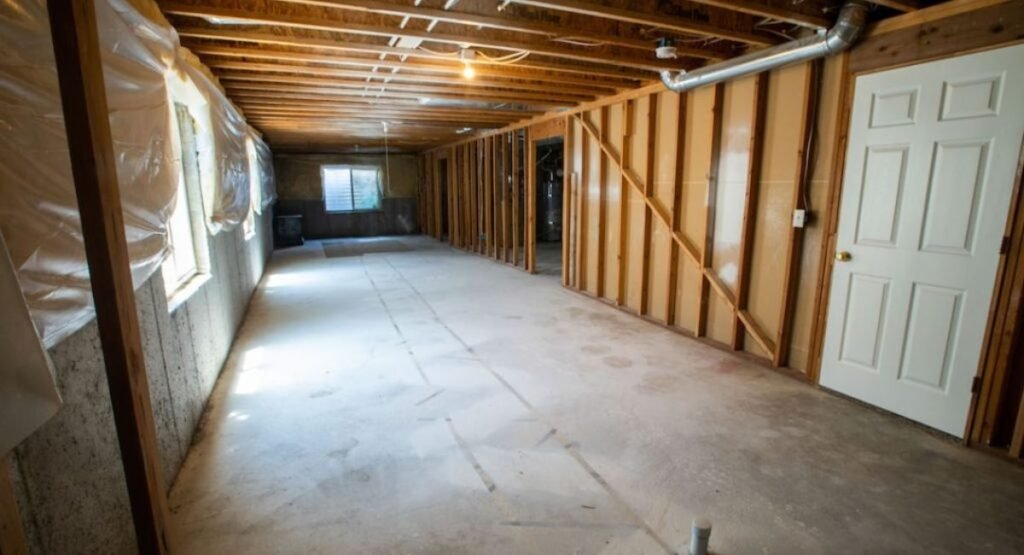
If you remember only one tip from this article make it this one. Moisture control comes first, and nothing else on this list matters if the space is not dry.
Find out what you are actually dealing with.
Start with a simple test. Tape a square of plastic sheeting, roughly two feet across, tightly to a bare section of the concrete floor and seal all four edges. Leave it for a few days. If you notice droplets on the underside of the plastic, moisture is coming up through slab. If they appear on the top, you are dealing with humidity in the air.
It is not a lab test but it is a useful clue. Also look for these signs:
- White, chalky deposits on walls (efflorescence)
- Stains near the base of the walls
- A persistent musty smell.
- Peeling paint or rusting metal near the floor
- Gutters that dump water right beside the foundation
Fix the outside first.
In my experience, the cheapest fixes are outdoors. Make sure the soil slopes away from the house, and extend downspouts several feet from the foundation. Clean your gutters. These step sound a little boring, but they solve a surprising number of basement dampness problems.
If you have standing water, active leaks or cracks that seep after rain, bring in a foundation or waterproofing professional. A sump pump, interior drainage system or crack repair might be needed, and this is not the place to guess.
Test for radon.
Radon is a naturally occurring gas that can enter home through the ground and basements are where it tends to collect. Testing is cheap and easy, and it is smart to do before you finish the space. If levels are elevated, mitigation is far easier to install before walls go up.
Keep humidity check.
Even after the structure is dry a dehumidifier is often a worthwhile investment. Many home expert suggest keeping indoor humidity roughly between 30 and 50 percent. A small humidity monitor costs very little and tells you what is going on.
Never finish over a problem you can see. Mold and hidden moisture only get worse behind drywall.
Tip 2: Plan the Layout, Codes, and Permits Early.
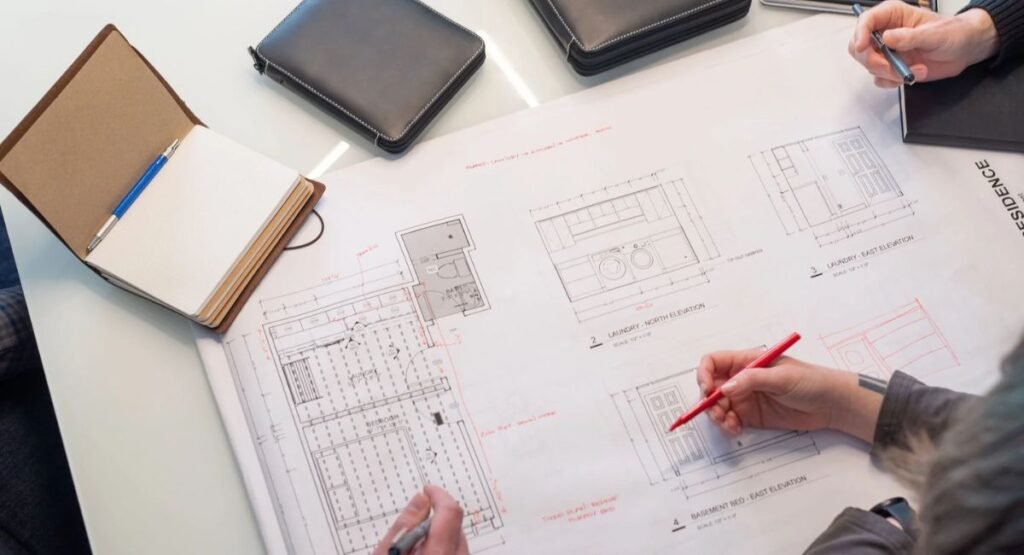
Once the space is completely dry, the exciting part begins: deciding what it is want it to become. Resist the urge to start choosing finishes. Plan first.
how the room will actually be used.
Ask yourself honestly how your household will use this space in five years, not just next month. A playroom for toddlers becomes a teen hangout. A guest room might become a home office, and a home office could turn into a rental suite.
Flexible design ages better. A large open area with a defined zone or two is usually easier to adapt than a maze of small rooms.
Measure ceiling height and work around Challenges.
Ceiling height is often the deciding detail. Local code commonly require around seven feet for habitable space though the details vary, and beams, ductwork, and pipes can reduce the height in spots. Measure at the lowest points not just the middle of the room.
Then map your obstacles: support posts, the furnace, the water heater, the panel, the sump pit, and cleanouts. You will need to maintain access to many of them. Trying to hide a shutoff valve behind permanent drywall is a mistake you’ll only make once.
Don’t skip permits.
I know permits are nobody’s favorite word. But most area require them for basement finishing, particularly. When the project involve electrical, plumbing, or framing changes. Inspection protect you and help make the finished space safe and legal, and unpermitted work can cause headaches when you sell.
If you plan to include a bedroom, look into egress requirement. Code generally call for an escape route, often an egress window or door, in sleeping area. Requirement differ by location, so check with your local building department before designing anything.
I would also confirm. carbon monoxide alarm requirements early. They’re easy to add during construction and annoying to add afterward.
Tip 3: Insulate and Build the Floor and Walls the Right Way.
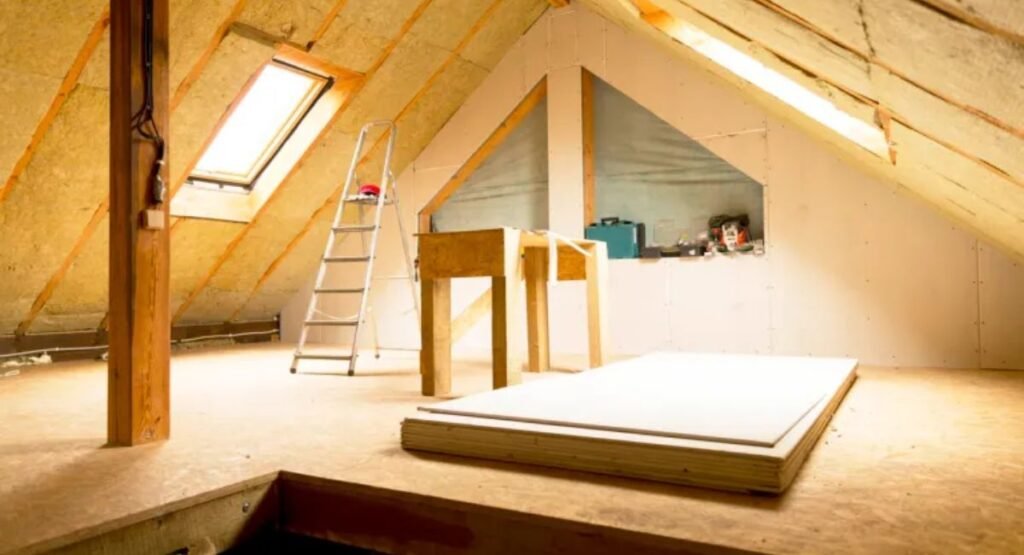
This is where a lot of people make well meaning mistakes, and it is where my friend’s story started to go sideways.Material that work perfectly upstairs do not always behave the same way below grade.
Walls:be careful what touches the concrete.
A common approach is rigid foam board against foundation wall then a framed wall in front of it. Foam does not absorb water like fiberglass does, and it help reduce cold spot where condensation forms. Some builder also use spray foam, and many people like using both in right place.
I’m cautious about stuffing fiberglass batts tight against a bare concrete wall. If moisture gets in the insulation holds it, and now you have wet sponge inside your wall. Ask your local pros or building department what is recommended for your climate because best practices do vary.
Another small tip:leave a little gap between the bottom of the wall framing and the slab or use pressure treated lumber or sill barrier for the bottom plate. Wood sitting directly on concrete is asking for trouble.
Floors:choose materials that can handle a basement.
Flooring is where I see people get burned, sometime literally in the wallet. Solid hardwood and thick carpet with padding both tend to struggle in basements.
Better options often include:
Luxury vinyl plank or tile which handles moisture.
- Porcelain or ceramic tile.
Engineered products rated for below-grade use
Interlocking subfloor panels with a raised, dimpled underside that lets air move beneath
I used a dimpled subfloor product in one project, and what I liked most was the feel. The floor was noticeably warmer underfoot than bare slab, which matters more than you’d think in January.
- Ceilings: think about future access
Drywall look clean, but a drop ceiling make it easy to reach pipes, wires and ductwork later. Some people prefer drywall with strategic access panels. There’s no single right answer, just pick deliberately.
Soundproofing is worth thinking about too, especially if you’re building a theater or a gym. Adding sound-dampening insulation in the ceiling joists costs relatively little during construction and makes a big difference to everyone upstairs.
Tip 4: Get Lighting, Power and Airflow Right
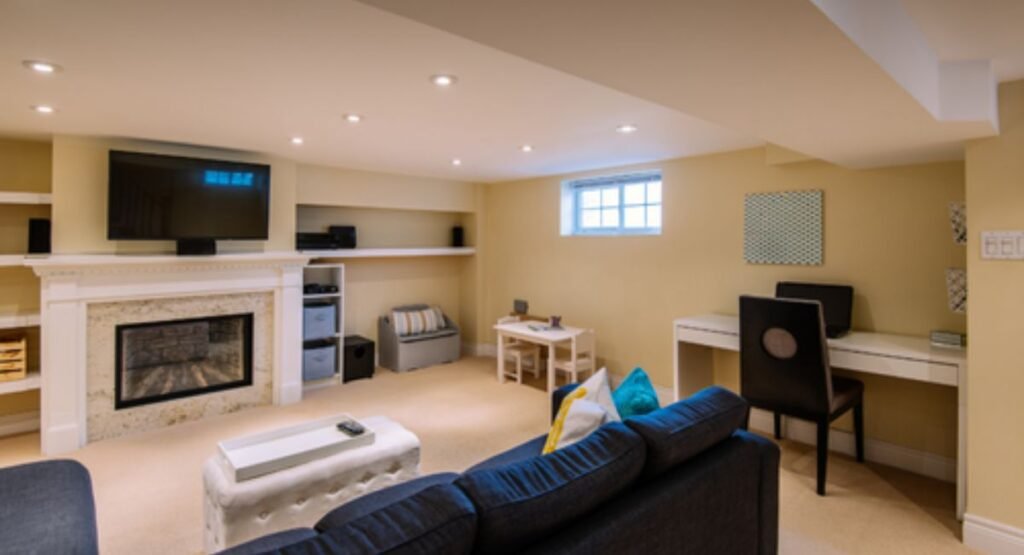
A finished basement can feel warm and inviting or feel like a cave. The difference is usually lighting and air.
Layer your lighting.
Basements do not get much natural light so you have to create it. I have found the best results come from using a mix of lighting:
- Ambient: recessed LED lights spaced evenly across the ceiling.
- Task: lamps, under cabinet lights or desk lighting where you work.
- Accent: wall sconces or LED strip to add warmth and depth.
Use warm white bulbs for living areas. Cold, bluish light makes a basement feel like a parking garage, and I say that with love for parking garage.
Where you can, bring in whatever daylight is available. Larger windows, light wells or glass doors on walk out basements are all worth the effort. Light-colored paint helps too.
Plan electrical generously.
Add more outlet than you think you need Really. Between entertainment gear chargers, lamps, and future surprises, basement eat outlet. Consider dedicated circuit for heavy load like home theater or workout equipment and talk to licensed electrician about code requirement including GFCI and AFCI protection where they apply.
Do not forget heating, cooling, and ventilation.
Basements can run cold in winter and damp in summer. Extending your existing ductwork sometimes works but your system needs the capacity to handle the extra space. Otherwise the rest of the house may suffer. Ductless mini-split systems are a popular alternative because they can heat and cool a zone without major duct changes.
Good airflow matter just as much. Make sure finished space has fresh air circulation and if you are adding a bathroom, install a properly vented exhaust fan.
Tip 5:Set a Realistic Budget and Sequence the Work.
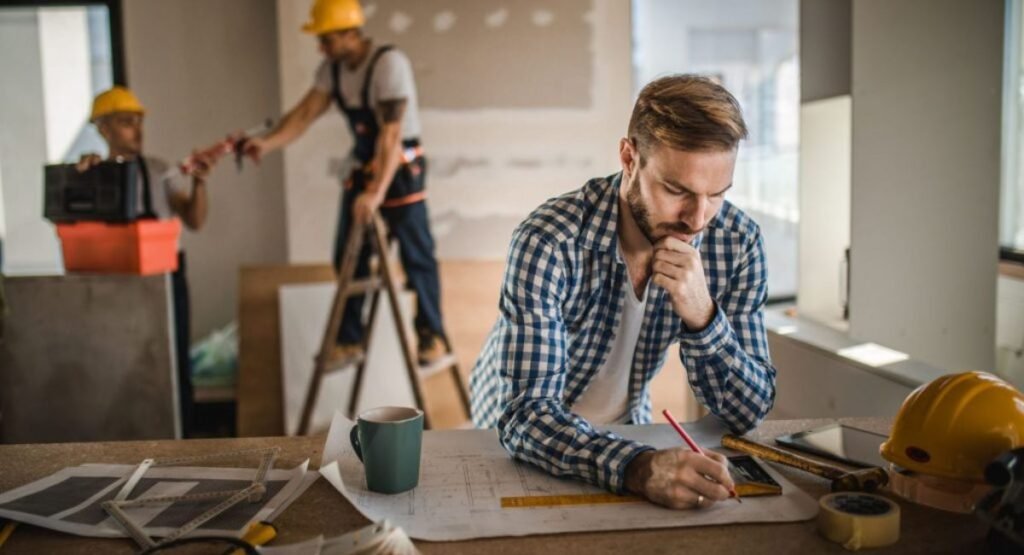
Every renovation has hidden budget monster. In basements it is usually the stuff you can not see: moisture fixes, electrical upgrade, plumbing rough ins, and permit fee.
Build a buffer.
I always recommend setting aside extra money often around 10 to 20 percent, for surprises. You will almost certainly find one. A crack behind a wall a pipe in the wrong place, or an old wiring issue tends to show up once the space is opened up.
- Follow a smart order of operation.
Sequence matters because each step protects. The order I would suggest:
Address water and test for radon.
- Get permits and finalize your plan.
Complete rough plumbing and any structural or framing changes
Insulate and frame.
- Run electrical and HVAC.
- Pass inspections before closing up walls.
- Hang drywall, then prime and paint.
- Install flooring and trim last.
Skipping ahead is tempting because the finish work is the fun part. But putting flooring down before messy work is done means damage, dust and do over.
Know when to hire help.
Plenty of home owner can handle painting, trim, and some framing. But I would hand off electrical, plumbing and waterproofing to licensed pros unless you truly know trade. Get
few written quote ask about insurance and licensing, and check review. A slightly higher bid from a reliable contractor often costs less than fixing a cheap one’s mistake.
Common Basement Finishing Mistakes
After watching a few of these projects up close, I keep seeing the same errors:
Covering up moisture problems instead of fixing them.
- Skipping permits to save time, then dealing with it at resale.
- Using the wrong flooring, like plush carpet directly on slab.
- Ignoring access to shutoffs, cleanouts, and the electrical panel.
- Underestimating lighting, leaving the room dim and unwelcoming.
- Forgetting the budget buffer, then stalling at 80 percent finished.
- The good news is that every one of these is avoidable with a little planning.
Where Basement Design Is Heading.
Basements have come a long way from paneling and bare bulbs. A few trends I have noticed:
- Multi purpose spaces that mix a workspace a lounge, and a workout zone.
- Wellness room, such as home gyms and quiet meditation corners.
- Guest suites with a full bath, giving visitors real privacy.
- Smart lighting and climate control which make dark spaces easier to manage.
- Moisture resistant, low-maintenance materials which are popular for good reason.
The common thread is that people treat the basement as real living space now not leftover space. That is a healthy shift.
Final Thoughts.
If there’s one thing I would want you to take from all this, it is that a great basement is built long before the first coat of paint. It start with a dry foundation, a clear plan, and materials that make sense underground.
My friend’s basement, by the way, turned out beautifully in the end. He fixed the water issue properly, rebuilt the walls the right way, and now it’s the room his family actually hangs out in. He still jokes about the carpet.
Take your time with yours. Fix the boring stuff first, and let the fun stuff be the reward. I hope your project goes smoother than our first attempt did, and if you hit a snag, know that nearly everyone does.