







Introduction,
The first gutter I ever hung was a disaster. It was a Saturday in early spring and I was proud of myself for about forty minutes. Then it rained. Water poured over the front edge like tiny Niagara Falls soaked my flower bed, and left muddy crater by the porch step.
I had skipped the one step that matter most: getting the slope right. That mistake taught me more than any tutorial could, and it’s why I’m writing this guide.
Gutter installation look simple from the driveway. It is a long channel on the edge of a roof so how hard can it be? But small errors in planning, measuring, and fastening add up fast. A gutter that is off by half an inch can hold standing water rot your fascia board and invite mosquitoes.
Below is everything I have learned about doing it properly, whether you are hanging them yourself or hiring a pro and want to know what good work look like.
Why Proper Gutter Installation Matter.
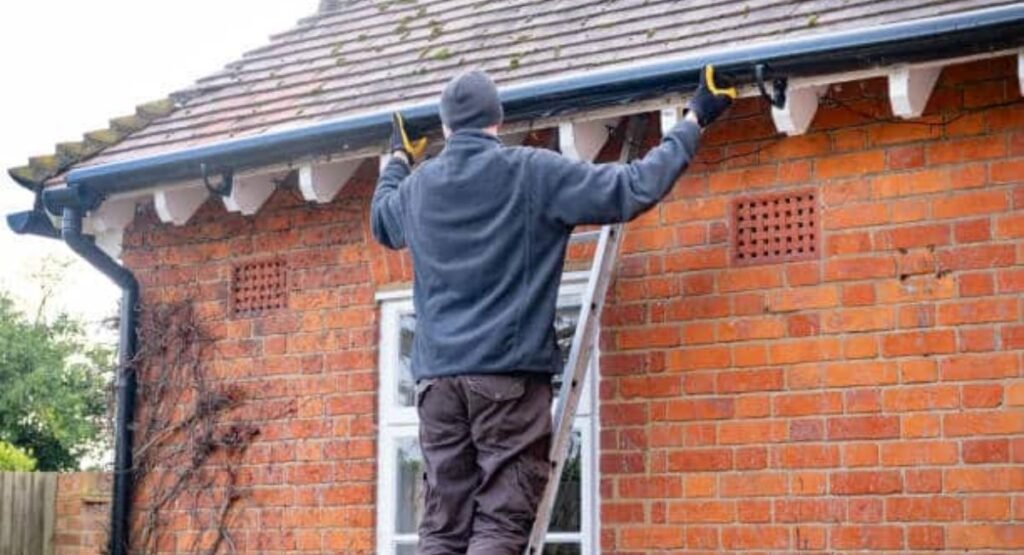
Gutters are easy to ignore until something goes wrong. Their job is to collect rainwater from your roof and carry it away from your home. That water can do serious damage when it has nowhere to go.
Poorly installed gutter can lead to:
- Rotting fascia board and soffit
- Cracked foundation from soil erosion and pooling
- Peeling paint and stained siding
- Damaged landscaping
A roof dumps a surprising amount of water. Even a modest rain on an average-sized roof sends hundreds of gallons through your gutters. If the system is sloped wrong, undersized, or loosely attached, it can’t handle that load.
The good news is that a well-installed system can last twenty years or more with basic care. Getting it right the first time saves you money and a lot of frustration.
Step 1: Inspect Your Roof and Fascia First.
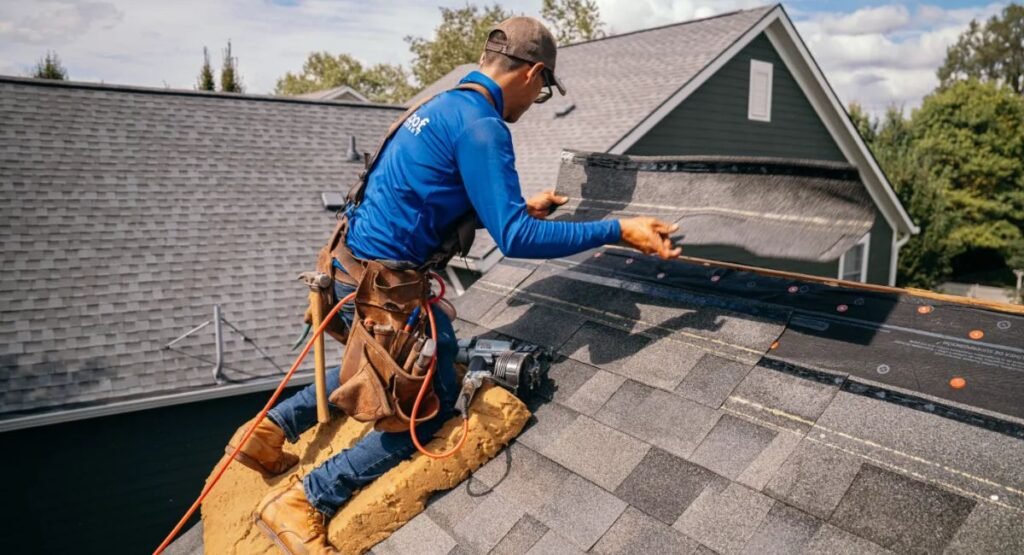
Before you buy anything, look at what you’re attaching the gutters to. Gutters are only as strong as the surface holding them, which is usually the fascia board along the roof edge.
Grab a ladder and a screwdriver. Poke the fascia in a few spots. If the screwdriver sink in easily, the wood is soft and rotting. Hanging new gutter on bad fascia is like building a shelf on wet drywall. It won’t hold.
Replace any damaged fascia before you go further. I once helped a neighbor who skipped this and his new gutter pulled away within one winter because the screws had nothing solid to bite into.
While you’re up there, check these things:
- Roof edge and drip edge: A drip edge thin metal flashing along the roof’s edge helps direct water into the gutter instead of behind it. If yours is missing, add one.
- Shingle overhang: Shingle should overhang roof edge by about half an inch to an inch so water drop into gutter.
- Roof pitch:Steeper roof shed water faster and may need larger gutter or extra downspout.
- Existing damage: Look for stains, sagging or sign of previous leak.
This inspection take maybe thirty minutes and it can save you from redoing the whole job later.
Step 2: Choose the Right Gutter Type, Size and Material.
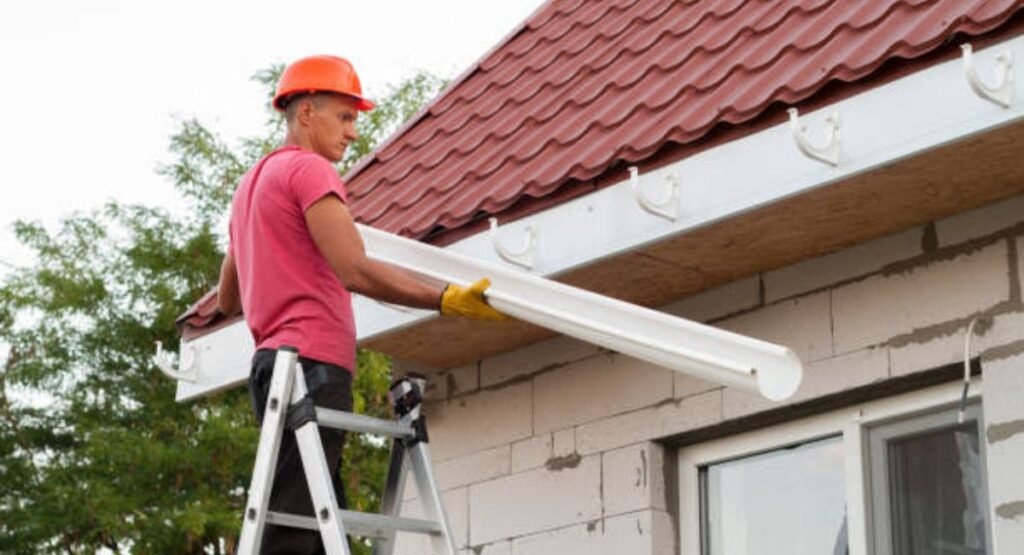
This is where many people rush. Walking into hardware store and grabbing whatever’s on sale is tempting but the details matter.
Gutter Styles.
The two most common profiles are K-style and half-round. K-style gutter have flat back and decorative front that looks a bit like crown molding.They hold more water and are the most common choice on modern home. Half-round gutter look more traditional and suit historic houses but they usually hold less and cost more.
Gutter Sizes.
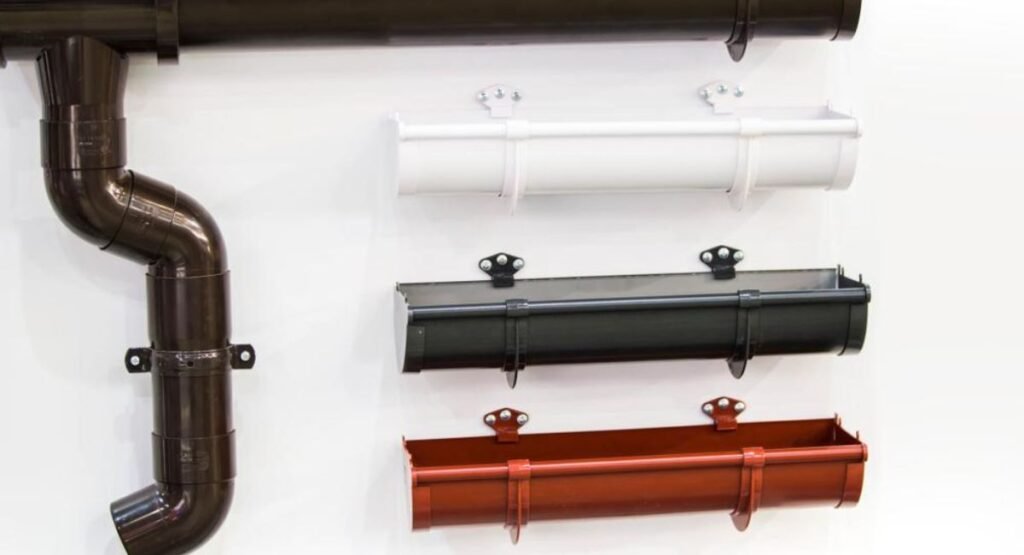
Most homes use 5-inch gutters. If you have a large roof a steep pitch, or you live somewhere with heavy rainfall 6-inch gutters are worth the upgrade. Based on my experience, the extra capacity is cheap insurance in rainy climates.
Downspouts are typically 2×3 inches or 3×4 inches. Larger ones clog less and move more water.
Materials
| Material | Pros | Cons |
| Aluminum | Lightweight rust resistant, affordable, many colors | Can dent easily |
| Vinyl | Cheapest, easy DIY | Can crack in extreme temperatures |
| Steel | Strong, handles heavy snow | Can rust if the coating is damaged |
| Copper | Beautiful, extremely durable | Expensive |
most homeowners, aluminum hits the sweet spot. It’s what I’d pick for my own house without much hesitation. Seamless aluminum gutters which are formed on site from a single piece, also reduce leaky joints. That said, seamless gutters usually require a professional’s machine, so DIYers often work with sectional piece.
Step 3: Measure, Plan, and Mark Your Slope.
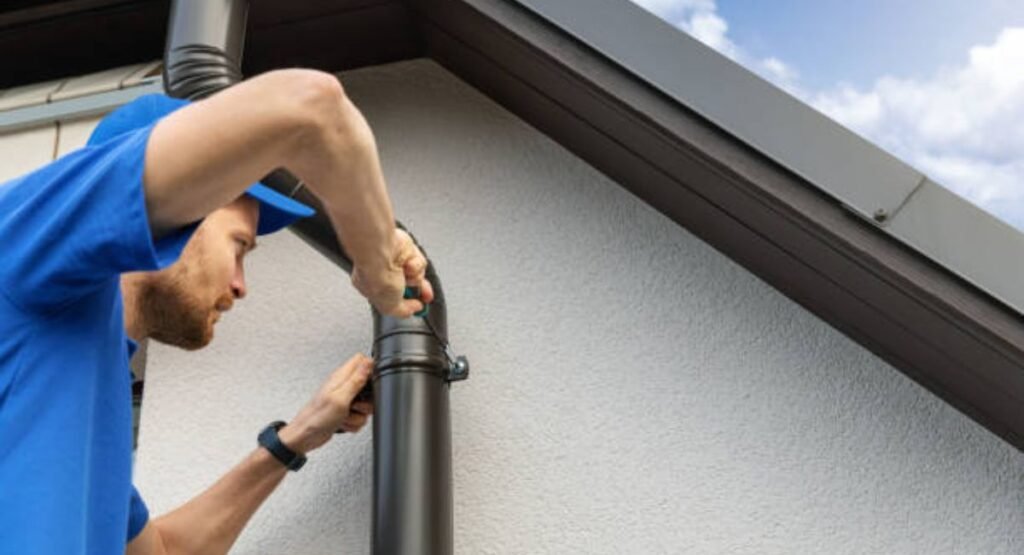
Now we get to the step that ruined my first attempt. Gutters need a slight downward slope toward the downspout so water actually flow instead of sitting.
A common rule of thumb is about a quarter inch of drop for every ten feet of gutter. Some installers go a little less, but that is the number I trust. Too little slope and water pools. Too much and the gutter look crooked from the street.
How to Mark It
- Measure the total length of each roof edge where gutters will go.
- Decide where your downspouts will sit. Corners and low points near drainage area work well.
- Pick a starting point at the high end and mark the fascia at the height where the gutter’s top edge will sit. It should be just below the roof line so water can reach it.
- Mark the low end based on your slope calculation.
- Snap a chalk line between the two mark. This is your guide.
A helpful tip: for runs longer than about 35 to 40 feet slope the gutter from the middle down toward downspouts at both ends. Otherwise the slope gets too dramatic.
Measure twice. Then measure again. I once cut a gutter section an inch short because I trusted my first number, and I have never made that mistake since.
Step 4: Install Hangers and Hang the Gutters.
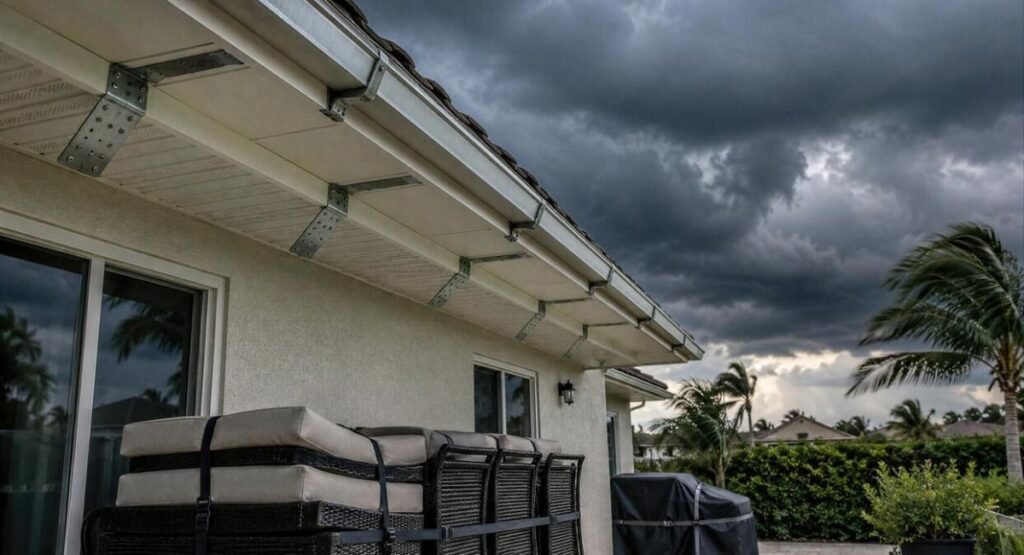
With your line drawn, it’s time for the main event. Start by assembling the gutter sections on the ground where possible. It’s much easier than wrestling long pieces on a ladder.
Attaching End Caps and Outlets
Cut the downspout outlet holes first, then attach end caps with gutter sealant. Let the sealant do its job, and don’t skimp. Cheap sealant is a common cause of leaks I’ve seen at the ends of runs.
Spacing the Hangers
Gutter hangers hold the system to the fascia. Good spacing is critical:
- Place hangers about every 24 to 36 inches for standard condition.
- In areas with heavy snow or ice, space them closer around 16 to 24 inches.
- Always place a hanger near each corner and each end.
Use hangers that screw into the fascia (or into rafter tails when the fascia is thin) rather than old-style spikes and ferrules, which tend to loosen over time. Hidden hangers give a cleaner look, and they hold up well.
Lifting and Securing.
Get a helper if you can. Long gutters flex and twist, and holding one steady while fastening it is a two-person job. I tried it solo once, and I don’t recommend it unless you enjoy sore arms.
Lift the gutter into place line it with your chalk line and fasten hangers snugly. Check slope a level as you go.
Joining Sections.
Where two piece meet, use a slip joint or connector with sealant, and secure it with rivets or short screws. Overlap the piece so the upstream section sits inside the downstream one. That way water flows over the joint instead of catching an edge.
Step 5: Add Downspouts and Manage the Water Exit.

A great gutter with a poor downspout plan is still a bad system. The goal is to get water well away from your foundation.
Downspouts are attached to the outlet with elbows, then run down the wall and secured with bracket every few feet. A good rule is at least one downspout for every 30 to 40 feet of gutter though bigger roof and heavy rain areas benefit from more.
Where the Water Should Go
Don’t let the downspout dump water right beside your foundation. Extend it with:
- Splash block: Simple, cheap and effective for light runoff.
- Downspout extension: These carry water 4 to 6 feet or more from the house.
- Underground drain line: These take water farther and keep the yard tidy but they need careful installation to avoid clogs.
- Rain barrels: A neat way to collect water for the garden.
Also think about where the water will flow once it exit. Direct it away from walkways, neighbors’ yards and low spots. Local rule sometime limit where runoff can go, so a quick check is smart.
After everything is up, run a hose over the roof edge and watch. Follow the water from gutter to downspout to ground. If you see pooling, leak, or overflow, it is far easier to fix now than after the first storm.
Common Gutter Installation Mistake to Avoid.
Between my own error and the ones I have seen on other jobs, a few problems come up again and again:
- Wrong slope: Too flat and water stands. Too steep and it overshoot.
- Weak fascia: Screws in rotten wood don’t hold.
- Too few hangers: Gutters sag, especially when full of wet leaves or snow.
- Skipped sealant: Small leak at seam become big one.
- Undersized gutter or downspout: They overflow in heavy rain.
- Poor downspout placement: Water dumped near the foundation defeat the purpose.
- Mixing metals: Some metal react together and corrode over time so keep material compatible.
The mistake that annoys me most is rushing. Gutter work is not complicated but it punishes shortcuts. Take your time and it will pay you back for decades.
Maintenance and Future Trends.
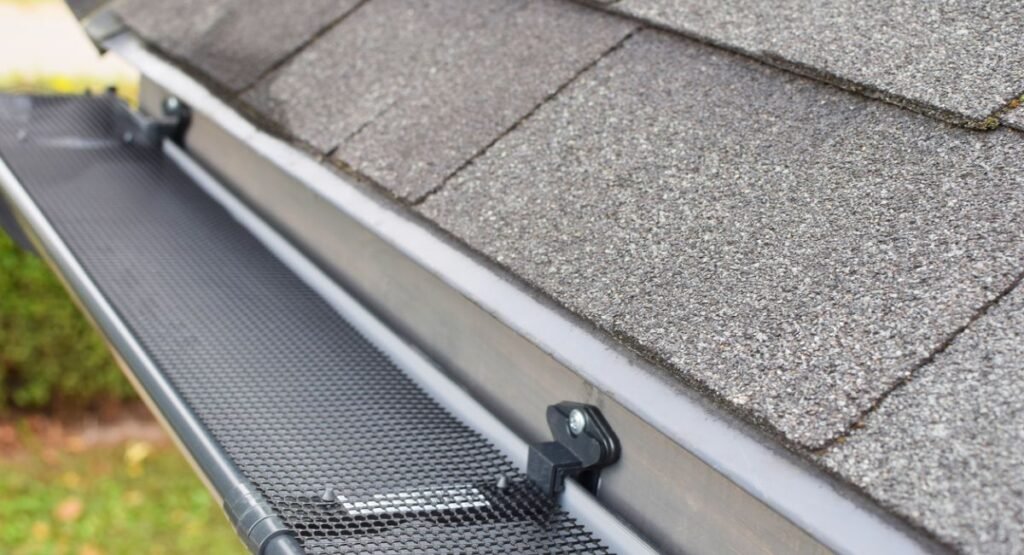
Even a perfect installation needs some love. Clean your gutters at least twice a year, in spring and fall and more often if you have overhanging tree. Look for sagging spots, loose hanger, and seams that have started to drip.
Gutter guards and cover are increasingly popular because they cut down on cleaning. They are not magic, and no product is completely maintenance free, but they help keep large debris out. If you are installing new gutters it’s a good time to decide whether you want guard.
Looking ahead more homeowners are treating gutters as part of a larger water management plan. That include rain barrels, rain garden, and drainage systems that reduce runoff. Material keep improving too, with tougher coatings and more color option. Water conservation is becoming part of the conversation and gutters are a natural starting point.
Final Thoughts.
Looking back at that first muddy crater by my porch I can laugh about it now. But it taught me that good gutter installation comes down to fundamentals: solid fascia, the right size and material, a proper slope, secure hangers, and a smart plan for where the water goes.
If you are doing this yourself, be patient and do not be afraid to ask for help. If you are hiring someone use what you have learned here to ask better questions. You’ll spot the difference between careful work and rushed work quickly.
Your home protects everything you care about. A few careful steps at the roof’s edge go a long way toward keeping it that way. Good luck, and stay dry out there.
Question Answers.
How long does it take to install gutter?
A pro crew can knock out an average one story house in a day, sometimes just a few hours. If it’s your first time, though, block off the whole weekend. Measuring marking the slope, and the inevitable second trip to the hardware store eat up more time than you’d think. Do not rush the water test at the end.
Can I install gutter myself or should I hire a pro?
Honestly it depend. Sectional gutters on a single story house are very doable if you are handy and have a friend to hold the other end. But seamless gutters, steep roofs or anything two stories up? I would call a pro. No gutter is worth a fall off a ladder.
How much slope do gutters need?
Aim for roughly a quarter inch of drop for every ten feet. That’s enough to keep water moving toward the downspout instead of sitting there breeding mosquitoes. On a really long run start the high point in the middle and slope down to a downspout at each end. It look much cleaner from the street.
How often should new gutter be cleaned?
Twice a year work for most people once in spring and once in fall. Got big trees hanging over the roof? Check more often because leaves pile up faster than you’d expect. A quick clean keeps water flowing and stops wet gunk from weighing down the hangers over time.